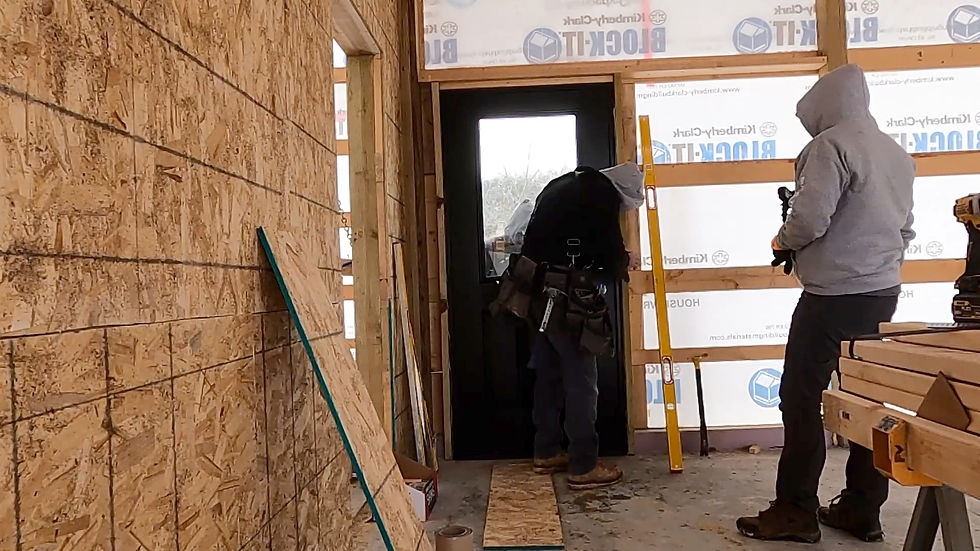
How Much Are Windows + Doors?| MAD County Standard Barndominium| Part 14
- MR Post Frame
- Jan 1, 2024
- 3 min read
Welcome back to Mr. Post Frame, everyone! Today's focus is on installing windows and doors in our MAD County Standard barndominium. We installed 21 Windsor windows and 3 ThermaTru doors. The Mad County Standard is a 2,300 square foot 2-story post frame construction home (39’x36′) and garage (32’x24′) with a wrap around porch. It has a main floor master with a total of 3 bedrooms and 3 1/2 bathrooms. If you're looking to design a post-frame home or building, reach out to us at design@mrpostframe.com, and we'll do our best to assist you. Now, let's get into the window install.
Step-by-Step Barndominium Window Install:

We begin by crafting our window boxes with a two to three-degree slant at the bottom. Using nine-inch zip flashing, we secure it a minimum of five to six inches on the sides, across the bottom, and up. The flexible nature of the ZIP flashing tape makes it ideal, even in colder conditions. Even though your hands might be freezing, the backing on the tape is easy to remove so you shouldn’t have to fidget with it too much. This tape will help prevent water from getting in damaging anything.
Before applying the flashing, we use small pieces to protect the corners, ensuring a robust installation. Once applied, we roll the tape with a roller, creating a solid foundation for window installation, making sure the tape won’t budge, even in freezing temperatures.

To install the window, we address the opening first. Our windows are about a half inch smaller than our opening so we decide to place quarter-inch shims in each corner for proper spacing. This will ensure the window is still centered within our opening. Silicone is applied, leaving spaces as per the manufacturer's recommendation. The window is then centered, leveled with shims, and secured with screws on all sides.
I typically like to install my upper windows first and then move on to the lower easier ones second. Also keep in mind that the wider the window, the more complex the installation becomes.
Barndominium Door Install:

Moving on to door installation, we ensure a snug fit, paying attention to the top and bottom. When doing your door installation, you have to pay attention to a lot of the same things as a window installation. Therma-Tru doors come with True Lock features, adding extra stability. They have serrations that lock into the bracket that screws into the door. We utilize screws through the jam, enhancing the door's sturdiness.
When installing doors on a slab, it's crucial to check for levelness. Ensuring a flat surface saves us potential problems later on. If it’s mostly level, we can begin cleaning up the area with a grinder and then we apply sill tape before sliding the doors in.

Cost Breakdown:
For our project, we've opted for Windsor window windows, locally available in the South Central Iowa area. Keep in mind that black vinyl is typically double the cost of white. Most of the windows are double-pane Low-E windows, the ones up top are just picture windows with panes in them. The windows along with Therma-Tru doors, have proven to be reliable choices. Check the video for specific pricing details.
Thank you,
MR Post Frame

Patreon Group:
Interested in tackling your build on your own? If you want to explore the possibility of being your GC or self-building, our Patreon membership is for you! It's a community of like-minded people offering support, discounts, Q/A, and more.


